Swarms
A swarm is a team of agents that work together on a request: a supervisor agent receives the task, decides how to handle it, and delegates to specialist agents. This page covers creating a swarm, writing routing instructions, wiring the team in the Swarm Map, and the rules for activating one.
How a swarm works
- The supervisor is the entry point. It interprets the request and routes work to the right specialists.
- Specialists are focused agents that handle specific kinds of work. A swarm can include up to 8 specialists.
- Routing instructions tell the supervisor how to choose between its specialists.
Use a swarm when a task spans several domains and benefits from dividing the work among focused agents. For simpler tasks, a single agent is usually enough.
Creating a swarm
From the Swarms list, click Create. You'll provide:
- Name and description.
- Supervisor — choose one agent of type Supervisor.
- Specialists — choose up to 8 Specialist agents.
- Routing instructions — guidance for how the supervisor delegates.
[Screenshot: Create swarm form]
Optimizing routing instructions
Like an agent's system prompt, the routing instructions have an Optimize step. Click Optimize to have AlphaAgent refine your draft into clearer routing guidance, streamed back to you live. The optimized text locks when it's done; click Revert to restore your original and edit further. The optimizer takes your chosen supervisor and specialists into account so the guidance fits the team you've assembled.
The Swarm Map
Open a swarm to see its detail screen, which includes a Swarm Versions table and the Swarm Map — a visual layout of the team.
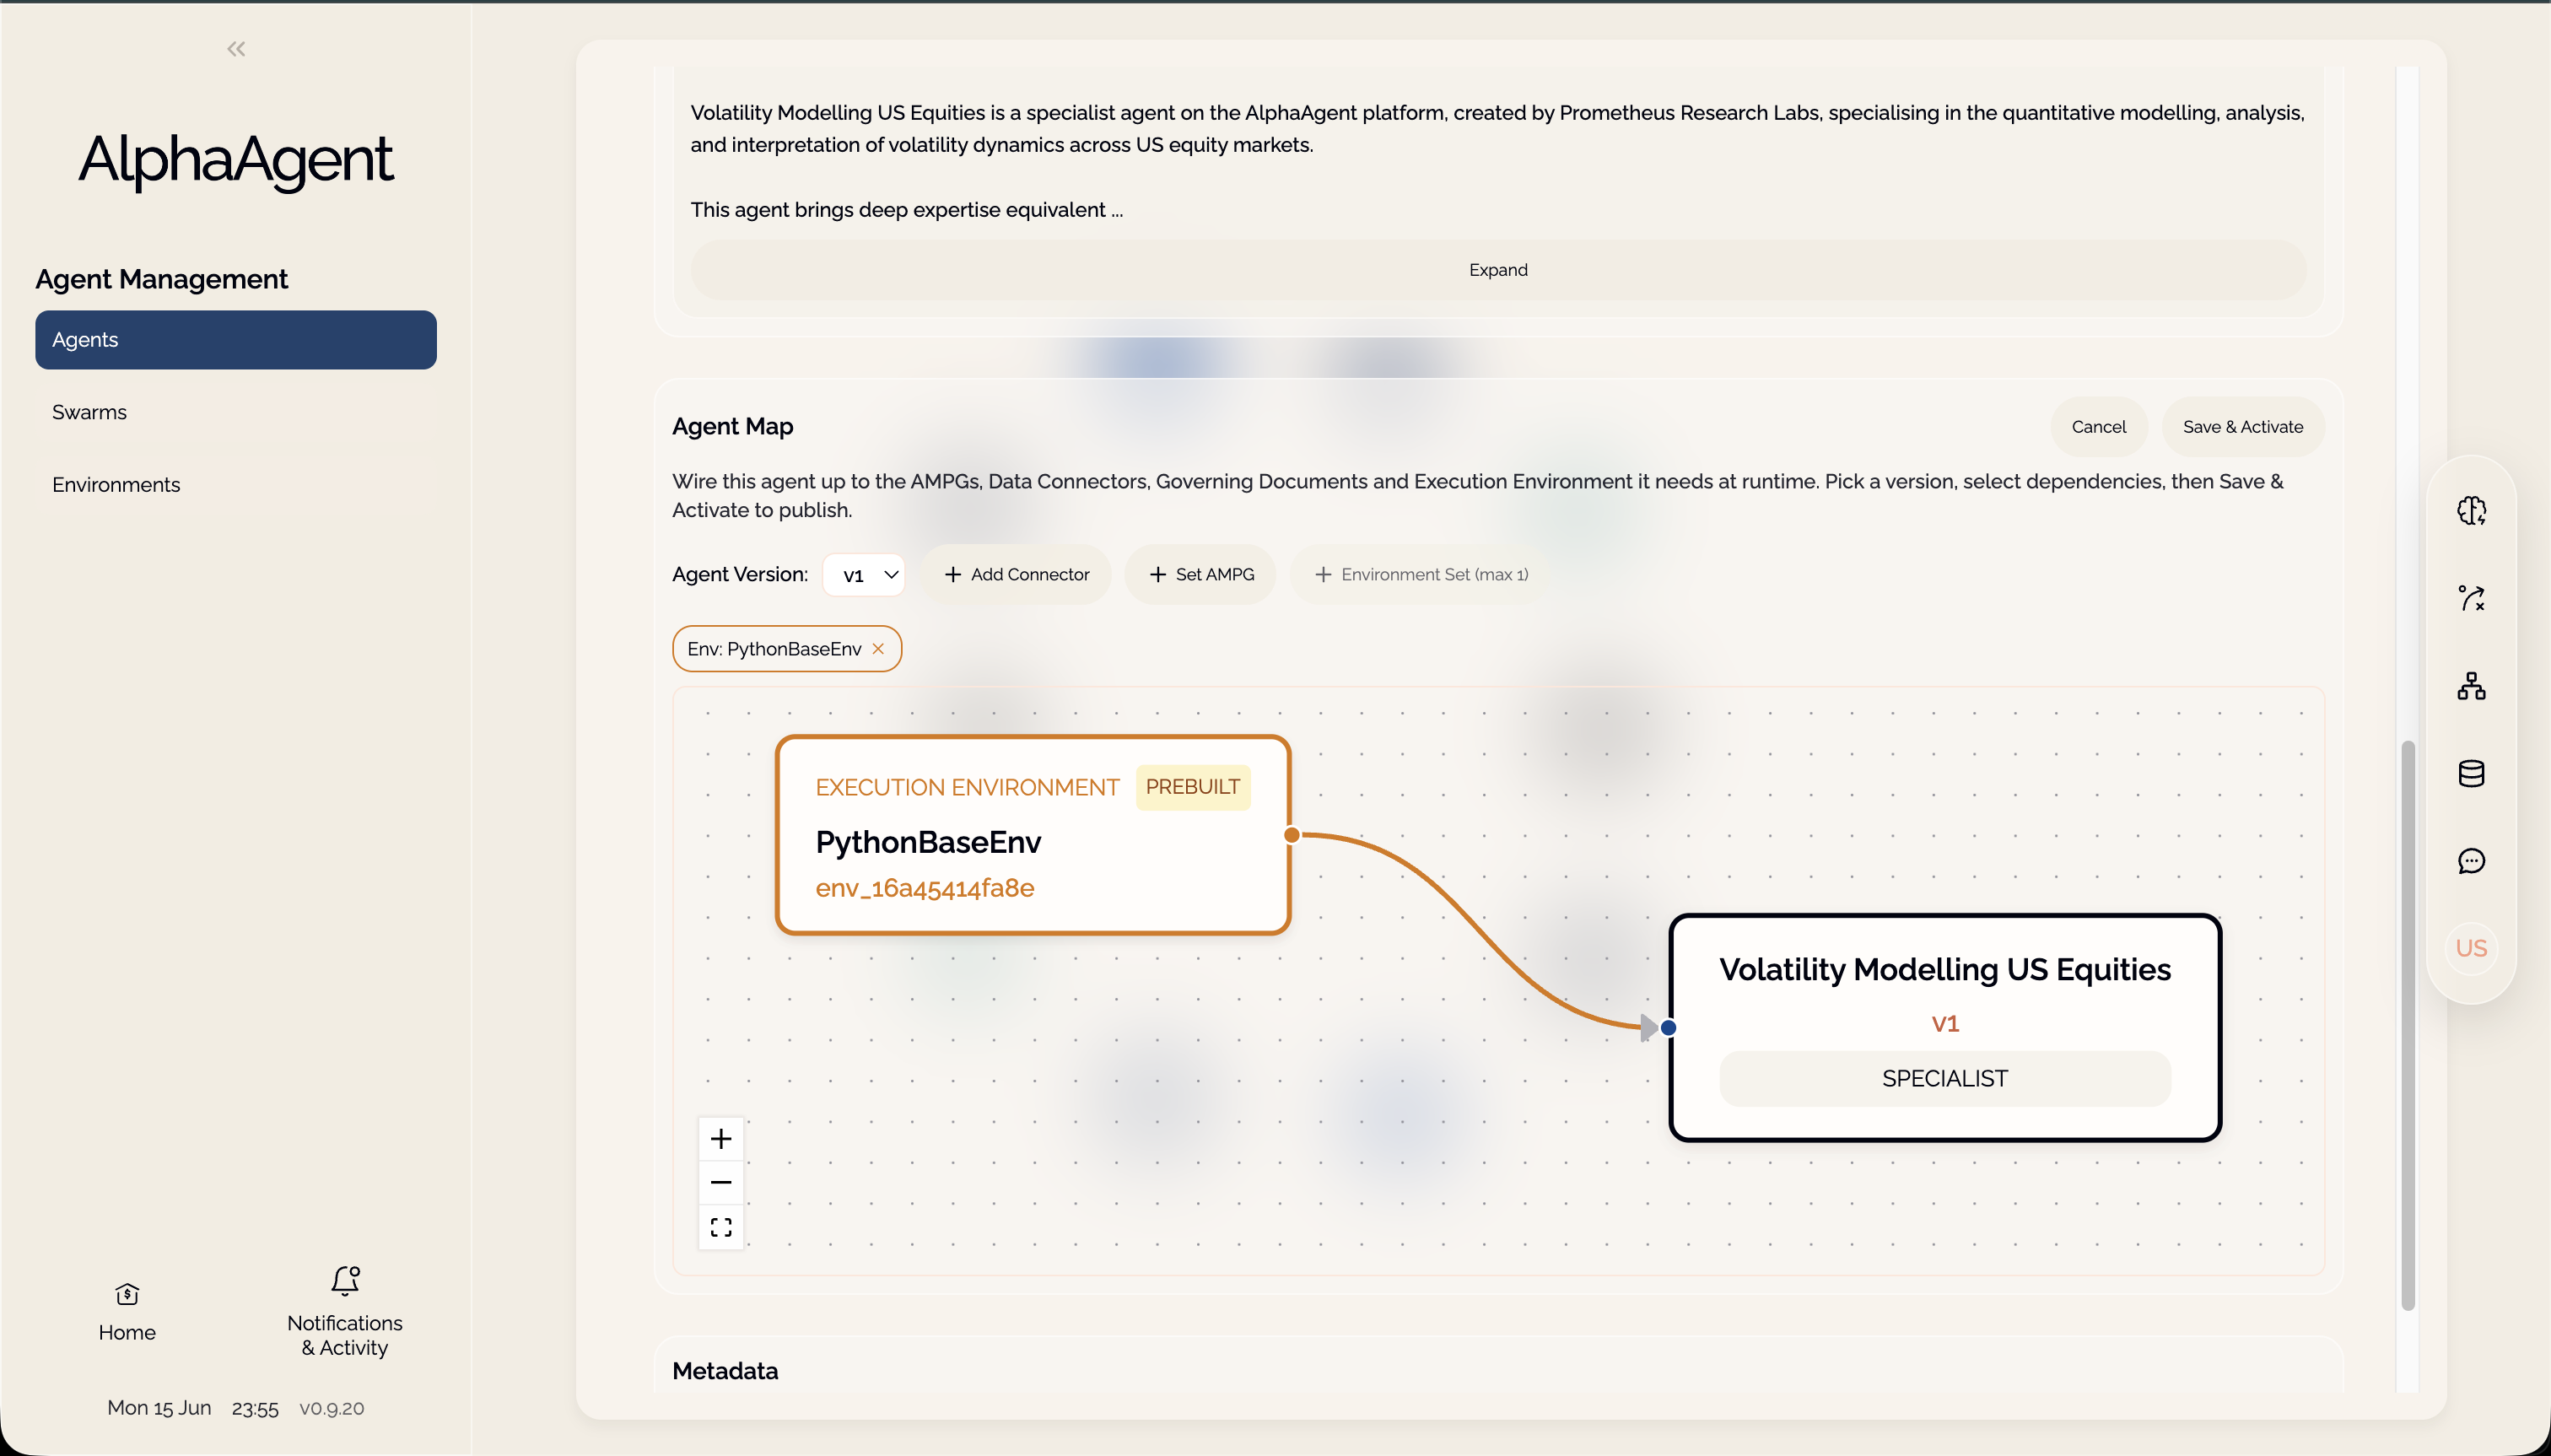
The map shows the swarm at the top, the supervisor below it, and the specialists fanned out beneath. Each specialist node shows its wiring at a glance — its Knowledge Graph and how many connectors it uses. Click any member to jump to that agent's detail screen. A version selector lets you preview other versions of the swarm.
Activating a swarm
A swarm can only be activated when every member agent already has an active configuration. If any member is missing one, Save & Activate is blocked and Studio names the agents you need to activate first:
Cannot activate: the following agent(s) have no active configuration. Activate them first, then try again.
So the typical order is: create and activate each agent (wire it in its Agent Map), then assemble and activate the swarm.
Managing members and versions
- Add specialists. From the swarm's detail screen, use Add Agents to pick additional specialists (agents already on the team are excluded from the picker). A counter shows how many you've selected before you confirm.
- Update. Editing a swarm — its name, description, roster, or routing instructions — publishes a new version, just like agents. An active configuration decides which version is live.
- Delete. Deleting a swarm is confirmed before it proceeds; if other resources reference it, Studio surfaces that so the delete fails safely rather than breaking something in use.
Using a swarm
Once a swarm is active, you chat with it just like an agent. In Express mode you can pin a specific specialist for a single message using the /direct command. See Chat.